
1 stop shop: Upload / link a new document
Upload a new file when you link to it
Go to the page you want the link to be on and log in. Put the page in edit mode.
Highlight the text you want the user to click on to get to your document.
![]()
Click the Insert/Edit link icon on your toolbar.
In the resulting dialogue box, click the search icon (magnifying glass) to the right of the URL field.
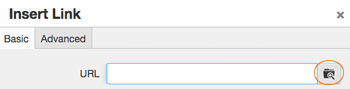
In the dialogue box that comes up, click the upload button (top right).![]()
In the upload dialogue box, click the green "+Add" button to add files or drag them into the upload dialogue box window.
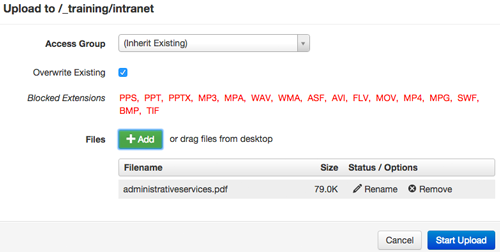
If you need to change the file name, you may do so at this point by clicking the "Rename" option. The "Rename" and "Remove" options will appear when you mouse over the file name (above). Renaming the document will not change the name of it on your local machine.
Document and file names should have no spaces or date indication and should be all lower case. You may use hyphens instead of spaces.
*Any file types not allowed for upload will be listed in red*
Click the blue "Start upload" button on the lower left of the dialogue box, then click
"close" in the resulting "upload successful" message.
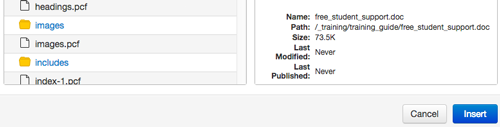
Click "insert" in the resulting dialogue box, then click "OK" in the last box.
Your link now exists. You will not be able to check the link by clicking on it in
the preview mode: the document will not be uploaded until the page is published, but
will upload automatically with the page at publish.