


Images
If you would like specific images on your pages, please submit a Commark request
form (https://clarknet.clark.edu/communications-marketing/request-form.php). You will be able to attach the images to the request.
We ask that you remember that images should enhance content and not be placed on
the page just to have an image there.
We do not place clip art on the website.
Inserting images is easy. Place your cursor where you would like the image to appear.
Click the "Insert/Edit Image" icon. 
As with linking pages and documents, click the search icon in the resulting dialogue
box to navigate to the image you want to insert and choose it. 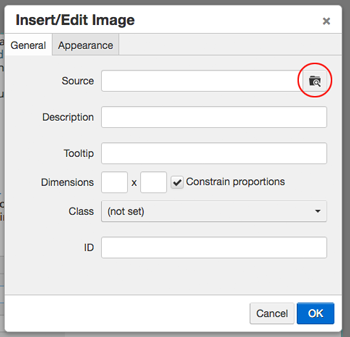
If you don't see your image in the folder listing, look on the top left of the dialogue
box to see where you are at.
If you are not in your site area's images folder, use the breadcrumbs and the folder list to navigate to your image. 
We are in the '/training_guide' folder right now. When editing this page, the grey
bar at the top of the page (under the blue bar with the OU Campus logo) says Content > Pages > /_training/training_guide/images.pcf
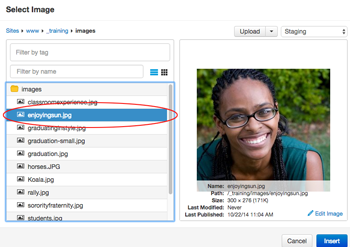
To go to the images folder of the training_guide section, one would click on '_training'
(see the image of breadcrumb links in the red oval, under 'Select Image' above).
In the resulting view, one would then click on the 'training_guide' folder.
Once in the training guide folder, click on 'images'.
** In your Select image dialogue box, you may need to change from the staging to the
production server if you do not have rights to the folders you need to look in. 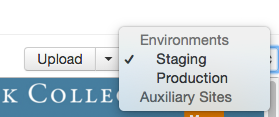
When you are in the correct images folder, click on your image to choose it. The bar
behind your image will turn blue and you will see a preview of the image on the right..
Click the blue 'Insert' button. You will get a dependency tag on the image just as you do on pages.
You must enter a description of the image:![]()
Click 'OK' to insert your image into the page.
