Update an existing document
Do not use this method to upload new documents
Go to the folder the existing (old) document is placed in. It must be a folder you have permision to access.
If you do not know where the document lives, go to it on the website and look at the URL (the address of the page). For example, with "https://www.clark.edu/_training/training-guide/documents/sample1.pdf", you would have to have permission to edit in the training-guide section of the website to access this document.
Once logged in to that area, click on the "Pages" button.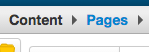
In the case of the example in the previous paragraph, you would then locate the "documents" folder and click it to enter that folder.
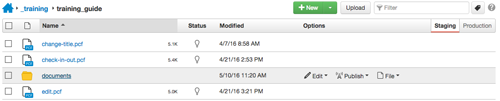
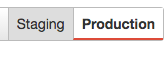
Once in folder the existing document is in, change from the staging to the production server.
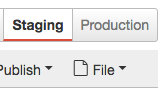
Click the upload button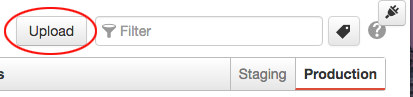
To update an existing document, check the "Overwrite existing" option and make sure
to name your document the exact same name as the document that is currently live on
the web (case matters). 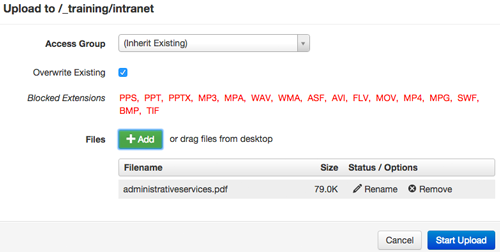
*Any file types not allowed for upload will be listed in red*
You may click the greeen "+Add" button to add files, or drag them into the upload
dialogue box window. If you need to change the file name, you may do so at this point
by clicking the "rename" option available when you mouse over the name of your document.
This will not change the name of the file on your local machine.
Click "Start upload", then click "close" in the resulting "upload successful" message.
** The server is not the place to archive your files. Please archive files on your
local machine or according to your department's policy. Overwrite existing documents
on the server when you are updating. This not only keeps excess documents off of the
server, it also prevents broken links when others link to your document. **
- If you replaced an existing document by naming the new one exactly the same name as
the existing one, and you were on the staging server, then the document needs to be
submitted for publish. In this case (replacing existing documents), to eliminate
the need to submit, you should switch to the production server before upload. Make
are you are in the file view of the folder you want the document to be placed in before
clicking the upload button.
- If you were to upload a new document to the production server, you would not be able to get a dependency tag on it and the page will be declined for publish.
