
Set Up Okta Security: Mobile Authenticator
Modified on: Tue, Jun 10 2025 10:27 AM
Summary:
Configuration steps for setting up Multi-Factor Authentication (MFA) using a mobile device with an authenticator app.
If you have Okta Verify installed on your mobile device, the following steps are not required.”
Table of Contents:
First-time self-service setup
- Prepare the Mobile Authenticator App on a mobile device:
You must pick only one app listed below:
- iOS Passwords (iOS only)
- Microsoft Authenticator (Android and iOS)
- Google Authenticator (Android and iOS)
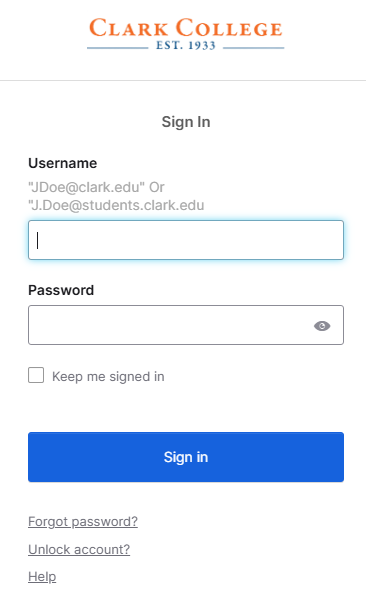
- Type https://clark.okta.com and set up your Security Methods.
- Enter your Clark login (email address and password).
- If you see this prompt, click on "Cancel" and proceed.
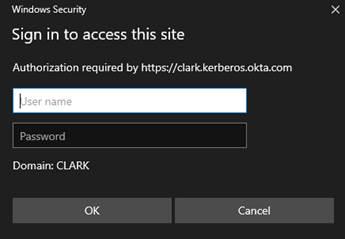
- You should see this new prompt now and log in.
- If you see this prompt, click on "Cancel" and proceed.
- Configure MFA authenticator App:
- Click Set Up
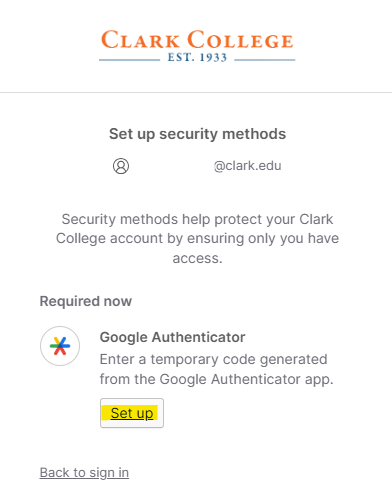
- Click Set Up
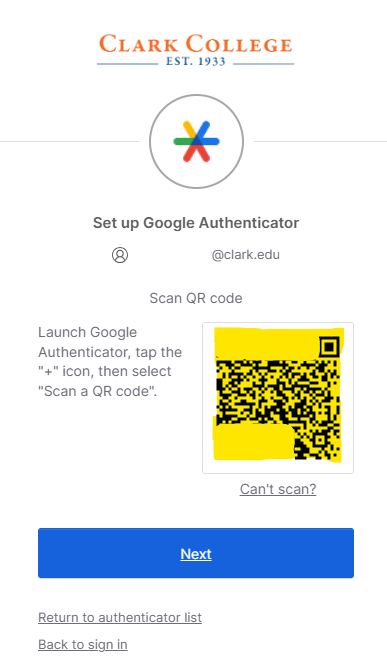
- Once the mobile app has been installed, select "Add New Account".
- With your mobile device, scan the QR code from your computer browser.
- Click next in your computer browser.
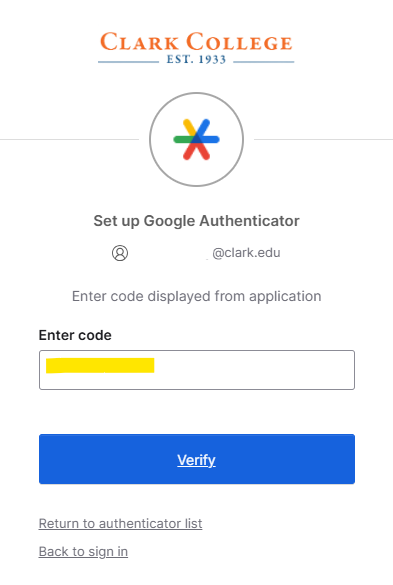
- Verify code
- Get the code from your mobile phone for this account.
- Enter the code in the browser window and click Verify.
- You have completed the process for adding a mobile authenticator.
Manually Add Mobile Authenticator
If you would like to add Mobile Authenticator to an existing account.
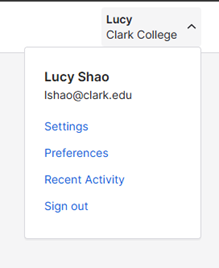
- From your My Apps screen, click on the down-arrow next to your name on the upper right
corner of the screen.

- Click on Settings.
- Under "Security Methods". Clark IT highly recommends Okta Verify.
- Click on Set up for Google Authenticator.
Even though it says Google Authenticator, other authenticator apps will work the same.
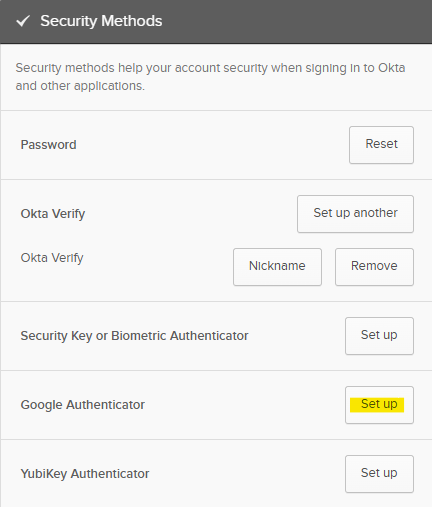
- Click on Set up for Google Authenticator.
- Prepare the Mobile Authenticator App on a mobile device:
You must pick only one app listed below:
- iOS Passwords (iOS only)
- Microsoft Authenticator (Android and iOS)
- Google Authenticator (Android and iOS)
- Configure MFA authenticator App:
- Click Set Up
- Click Set Up
- Once the mobile app has been installed, select "Add New Account".
- With your mobile device, scan the QR code from your computer browser.
- Click next in your computer browser.
- Verify code
- Get the code from your mobile phone for this account.
- Enter the code in the browser window and click Verify.
- You have completed the process for adding a mobile authenticator.