VPN - Windows OS
How to Install and Use Global Protect VPN Client on Windows:
Check with IT Services Help Desk to get assistance scanning your computer for viruses or malware, before you connect your personal system to Clark’s internal network via VPN.
The IT Services Help Desk can be reached at:
- https://itshelpdesk.clark.edu
- ithelp@clark.edu
- 360 992-2425.
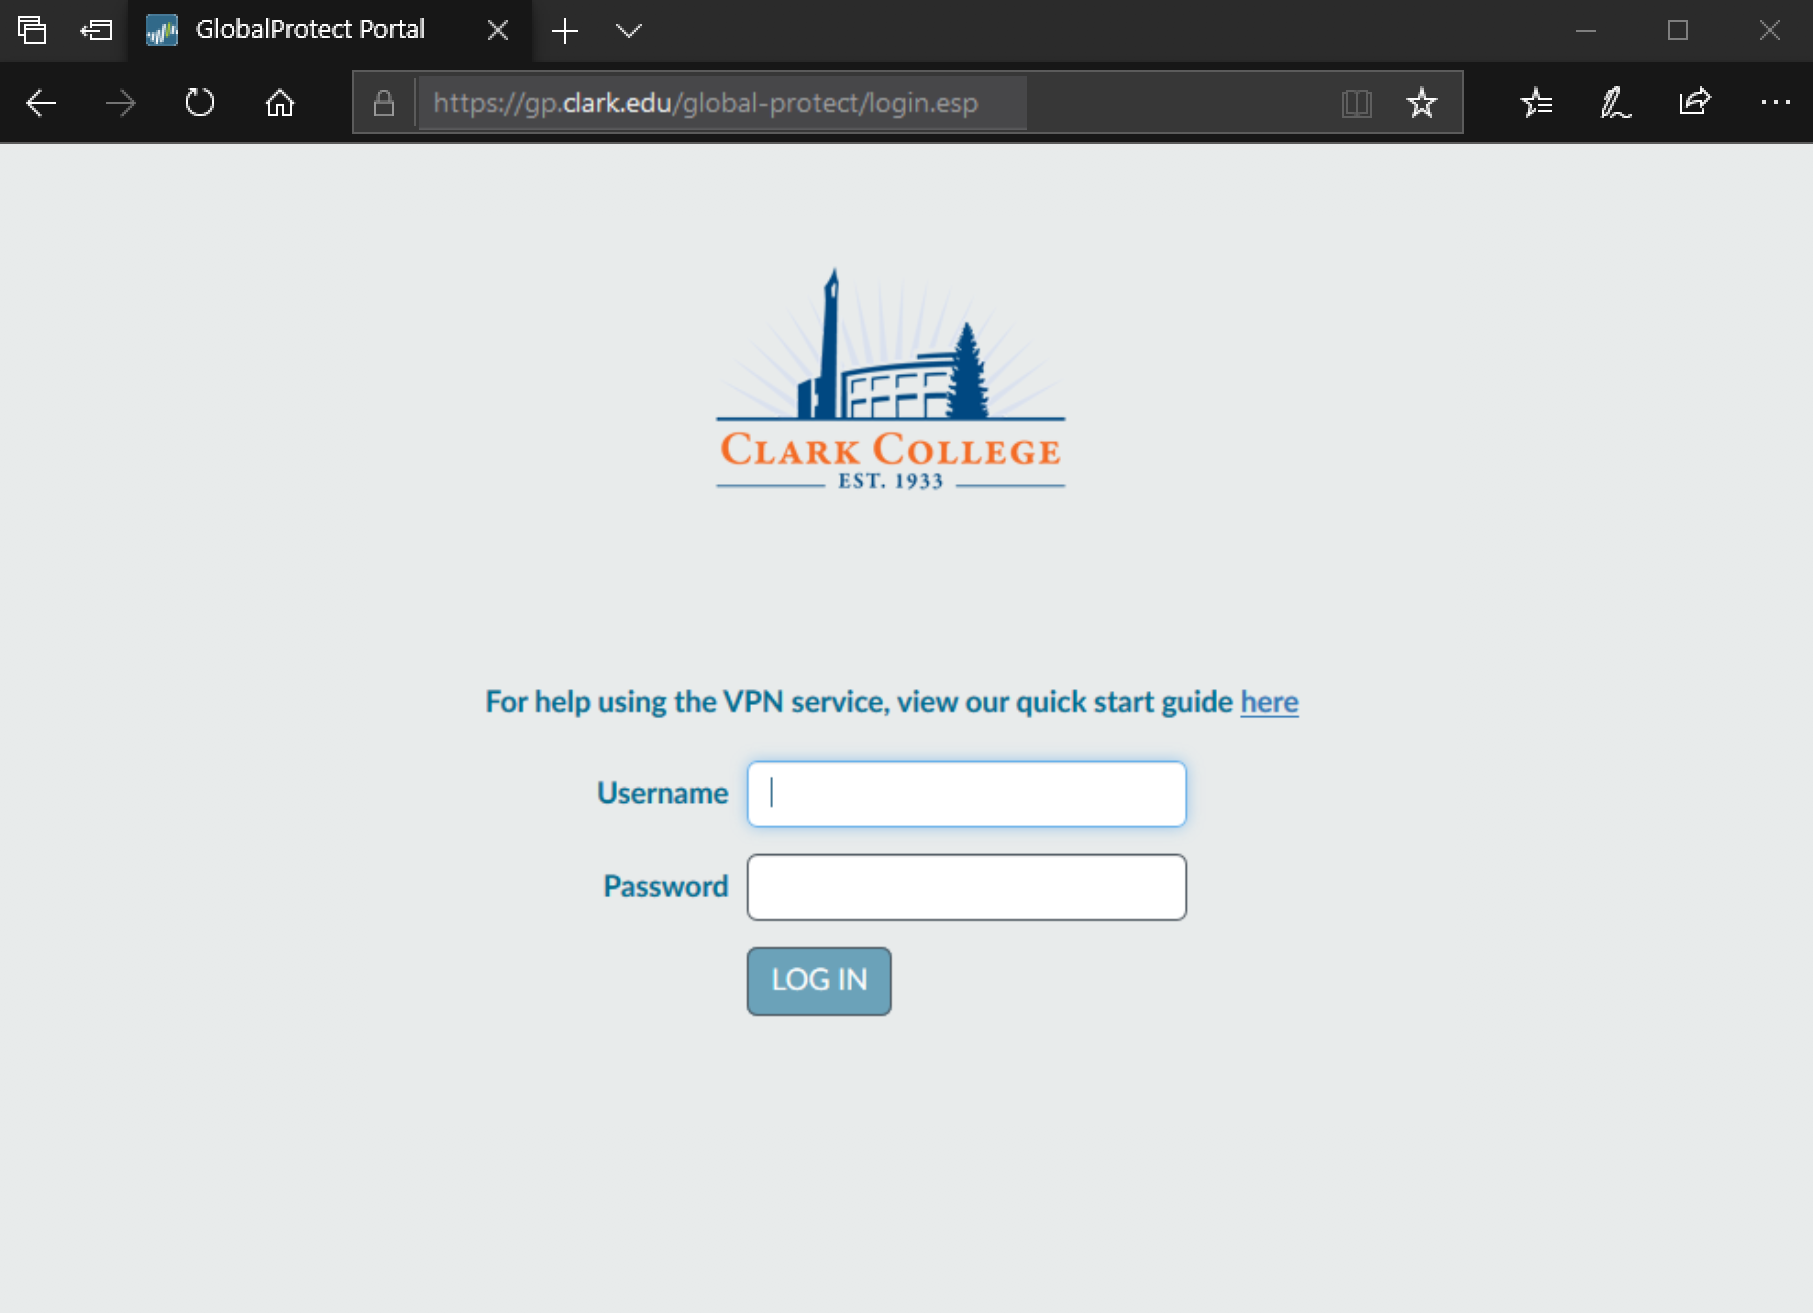
- Navigate to https://gp.clark.edu in your web browser.
- Log in using your bare Clark username.
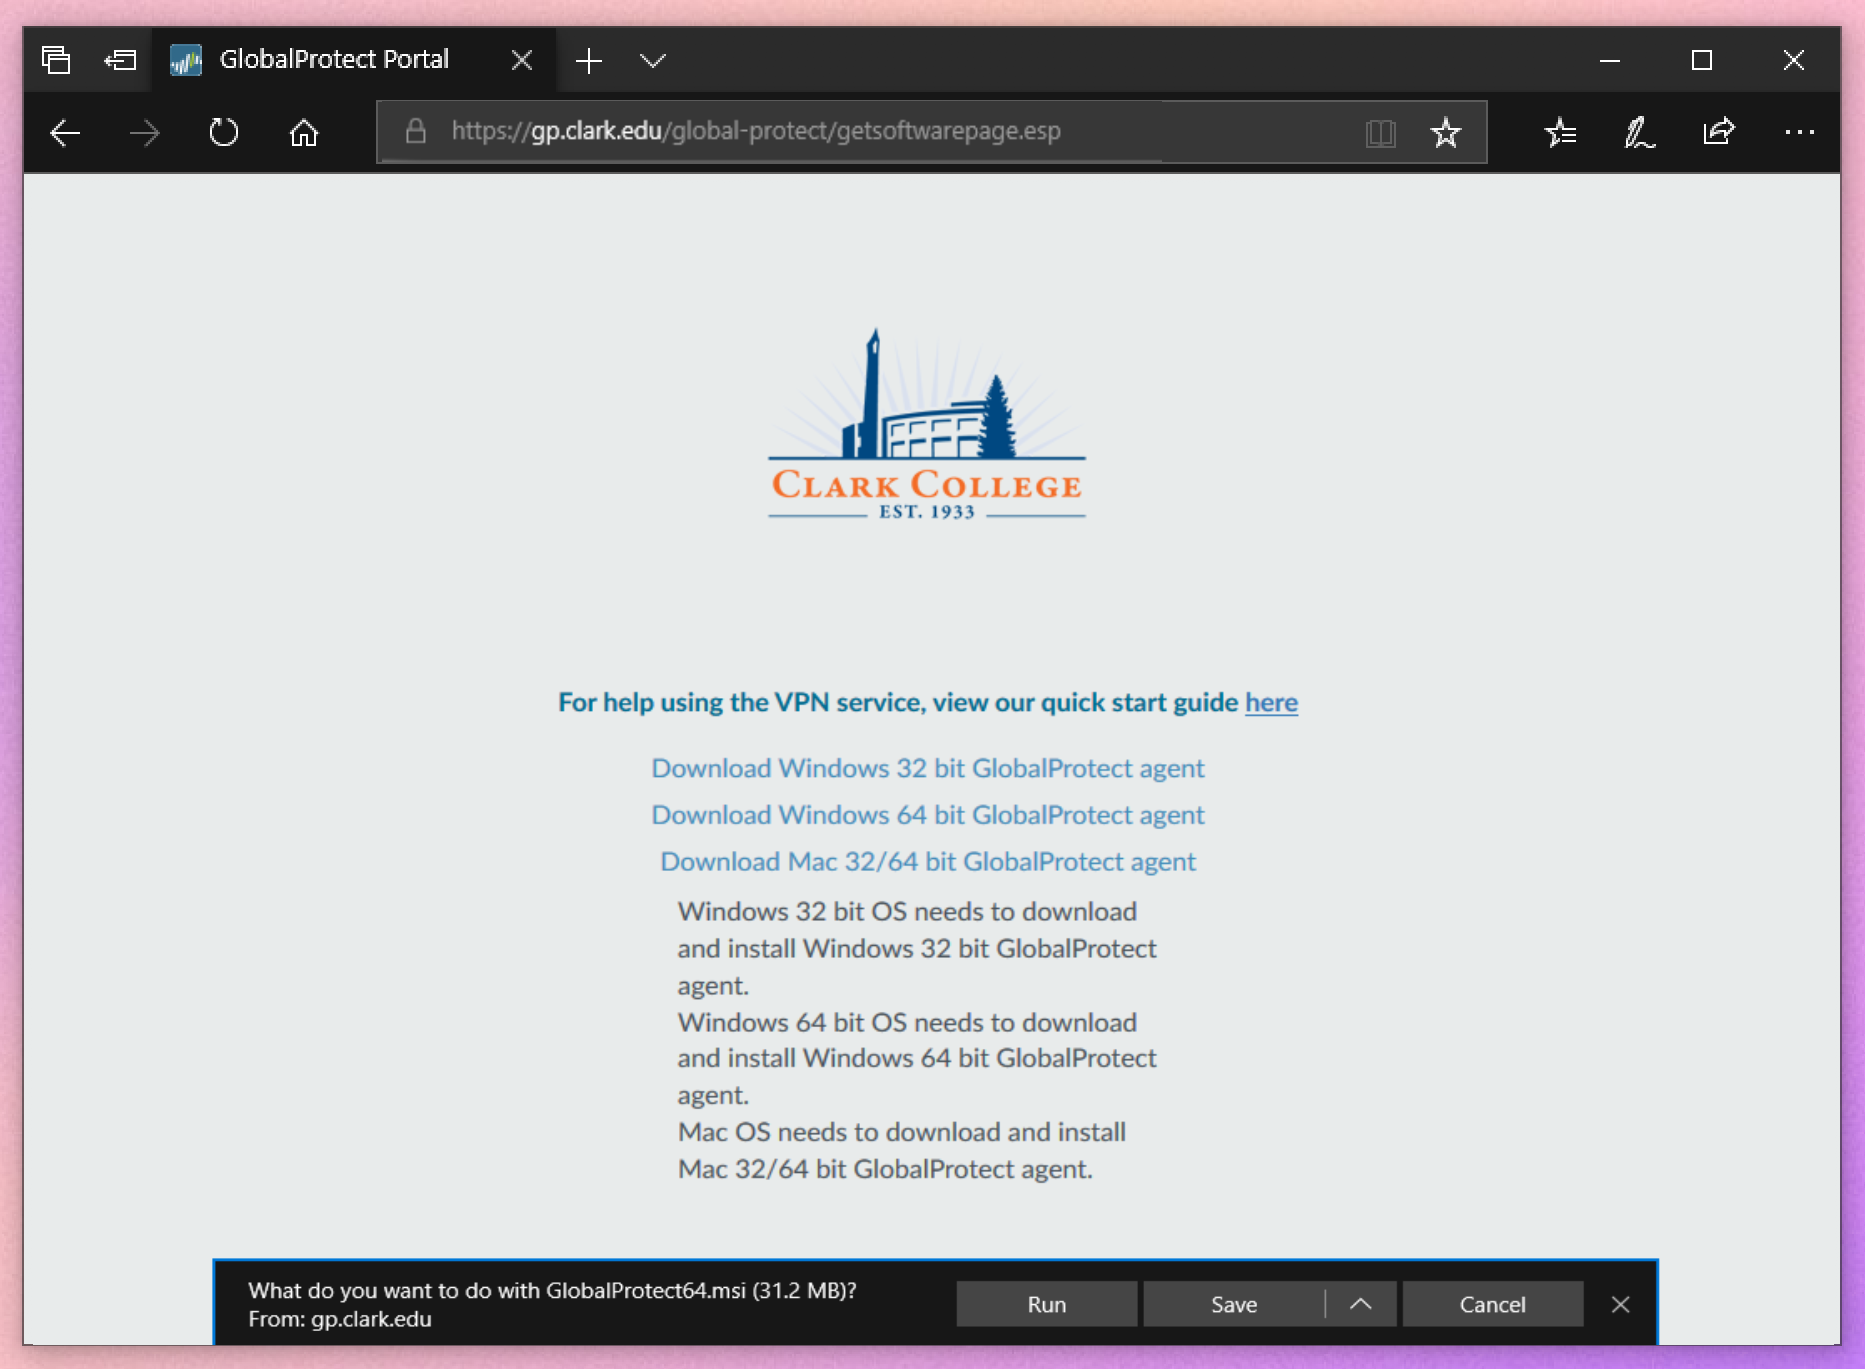
- Click either 'Download Windows 32 bit GlobalProtect agent' or 'Download Windows 64 bit GlobalProtect agent.' Click Run to run the file as soon as it is done downloading.
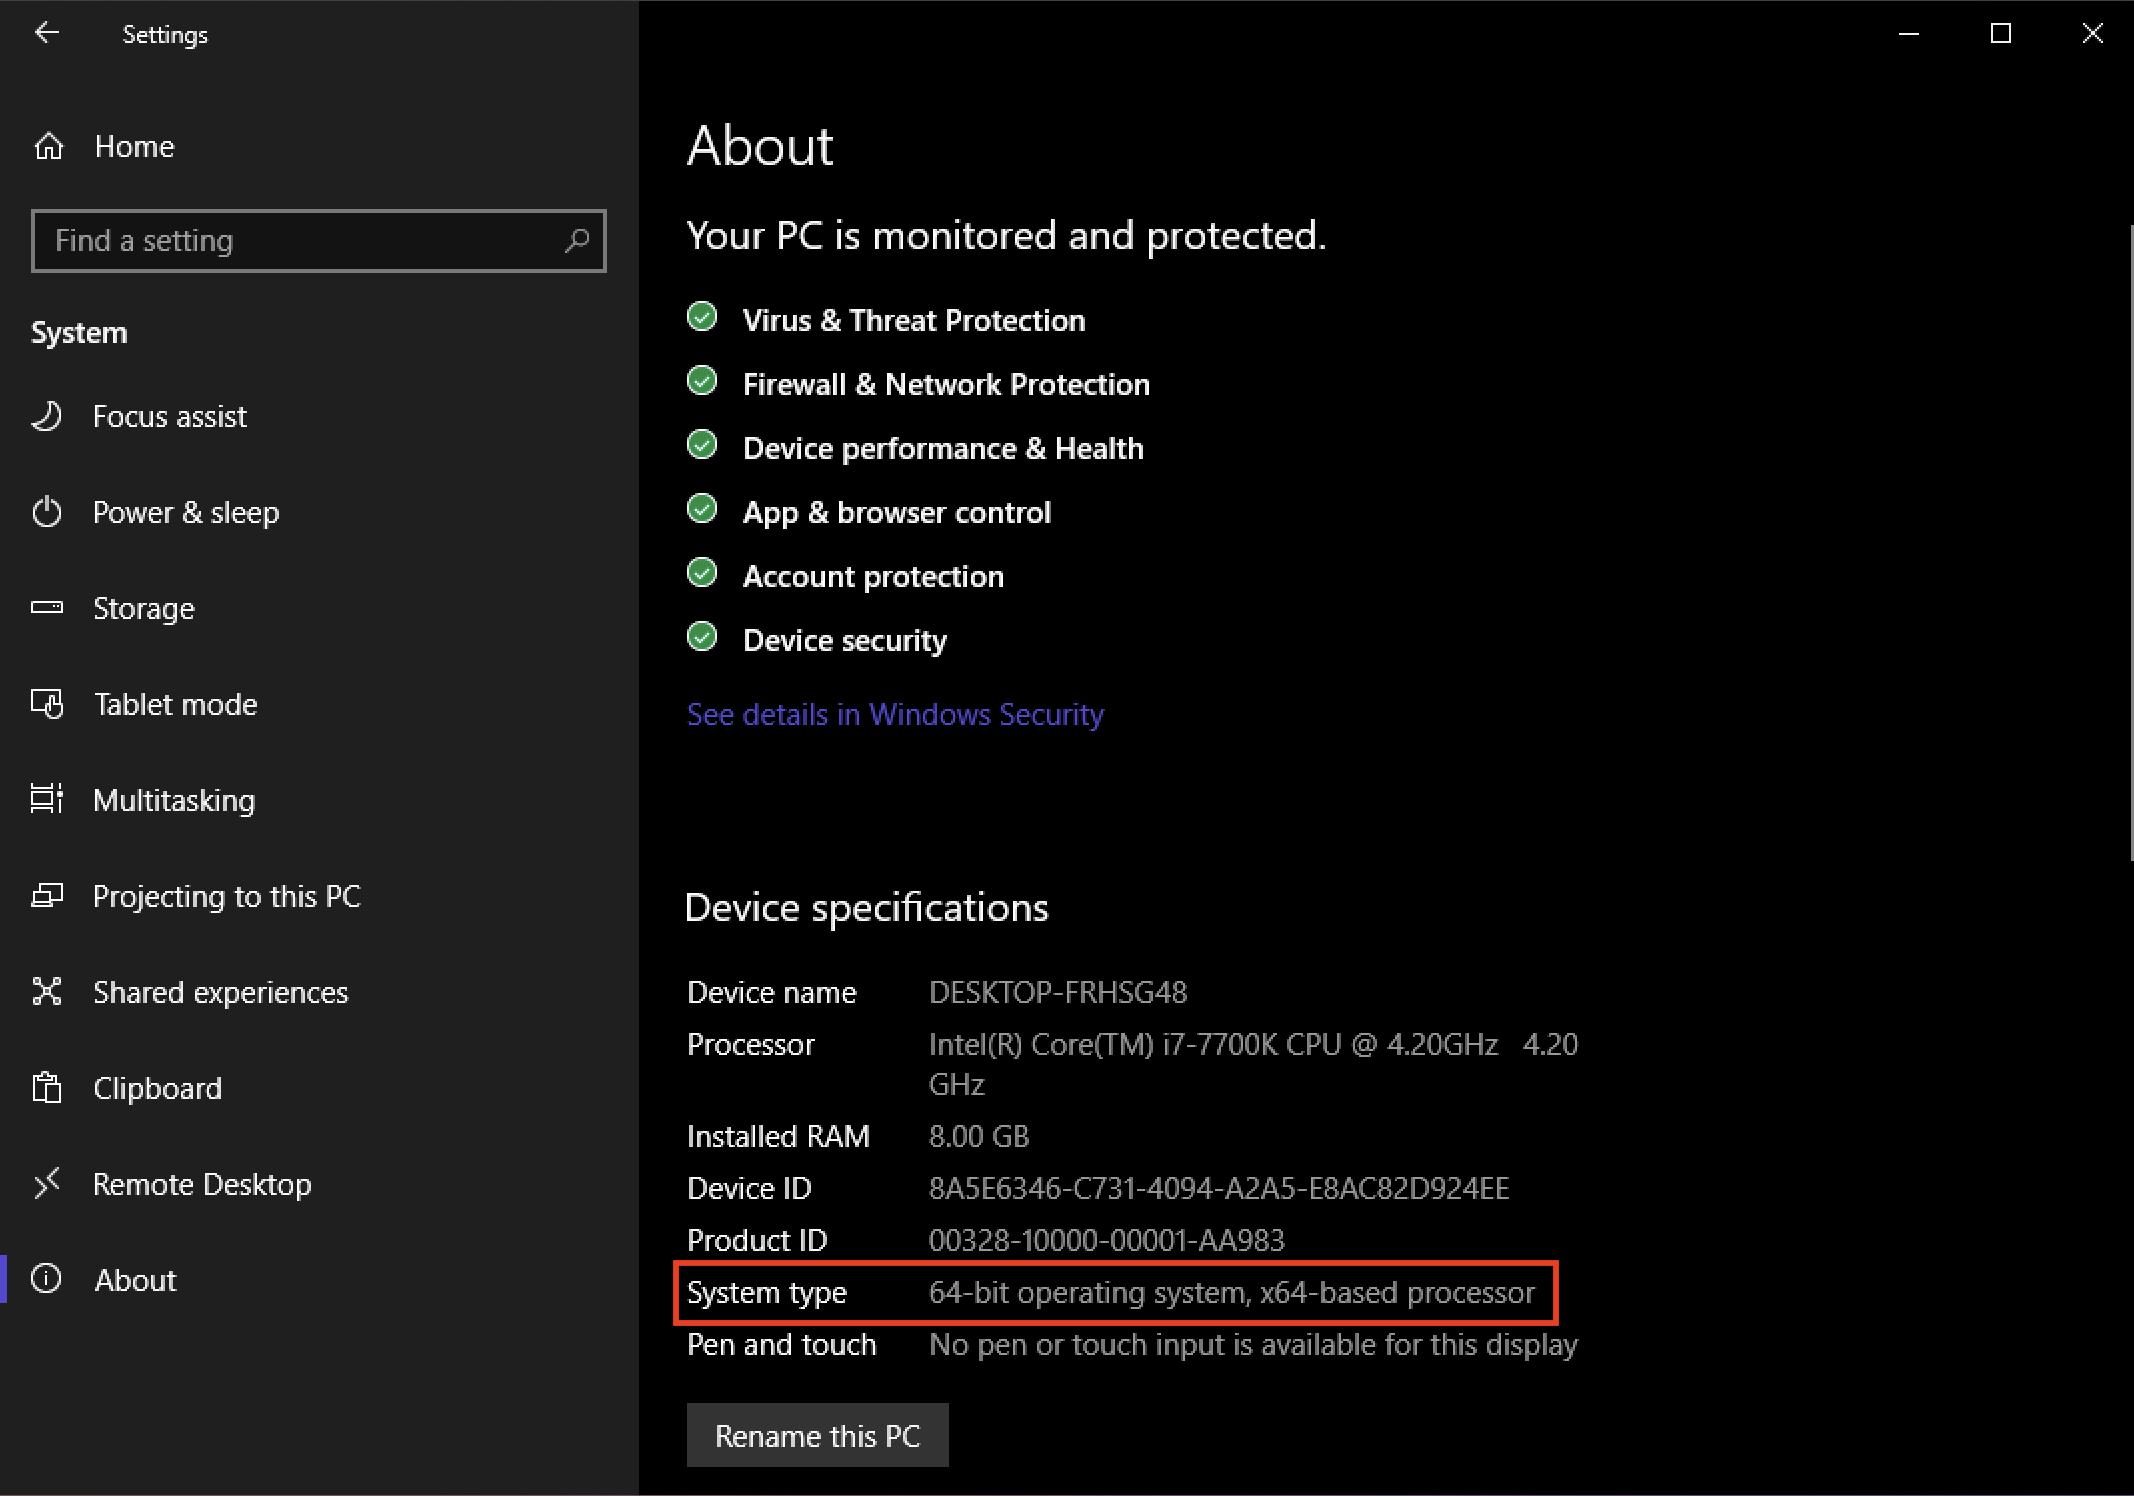
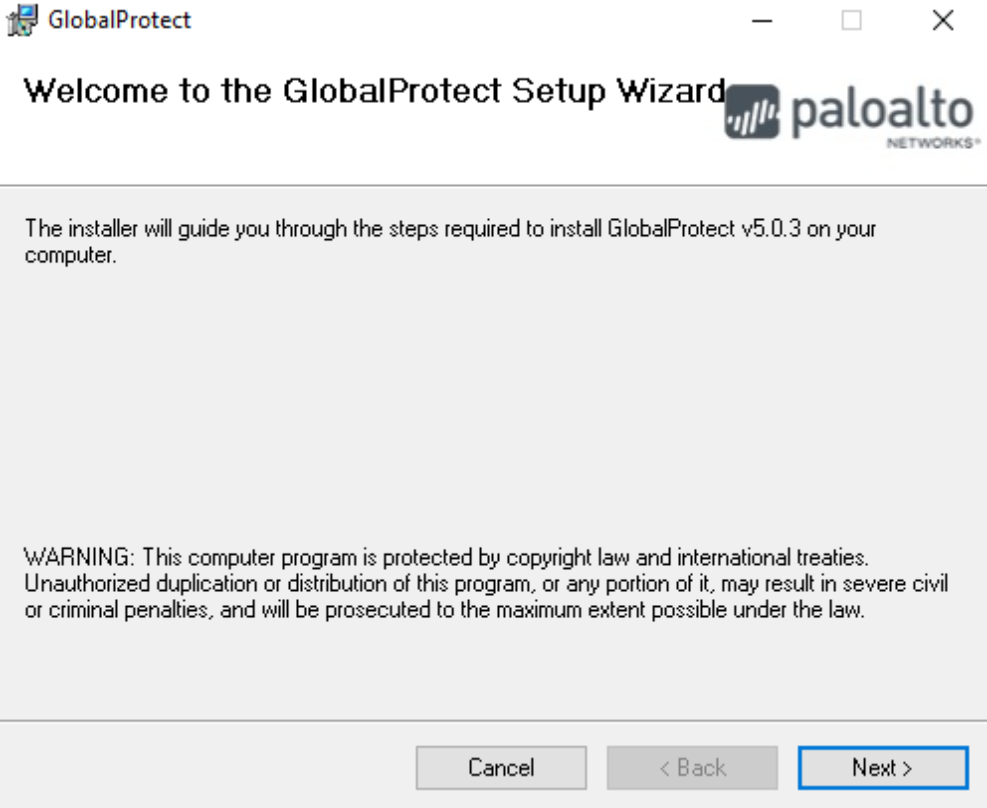
If you are not sure if you have 32 or 64 bit Windows, you can check by opening the Settings app and navigating to System/About. - When the file has downloaded, the Global Protect installer will run. Click Yes on the User Account Control dialog. You may be prompted for your computer's admin username and password.
- Once the client has been installed, the Global Protect icon will appear in the notification
area in the taskbar at the bottom right of your screen. Click the icon to set up the VPN connection.
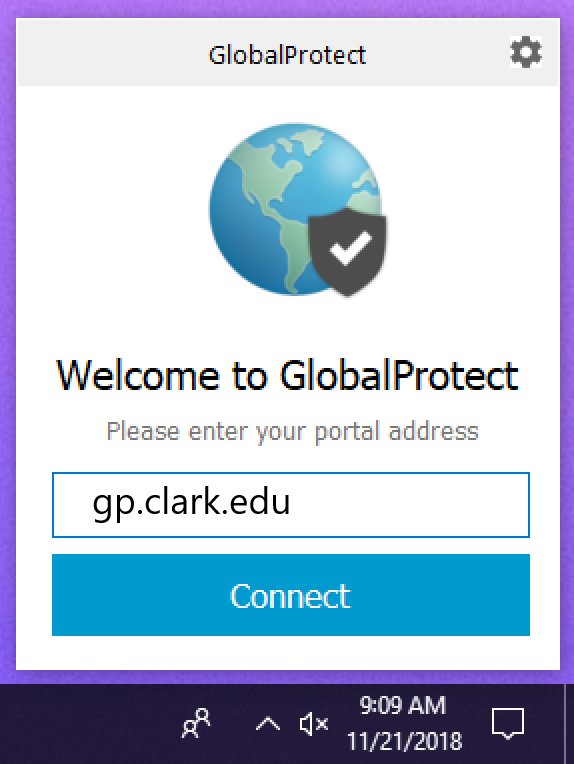
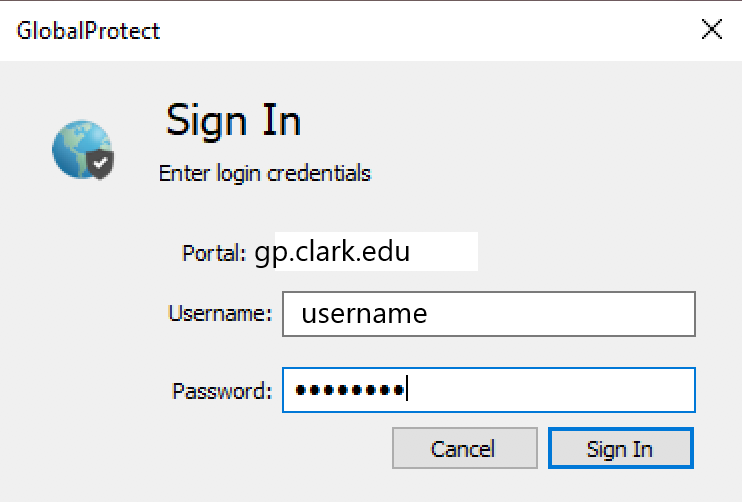
- Type gp.clark.edu into the Portal Address field and click Connect. You will be prompted to sign in with your Clark username and password.
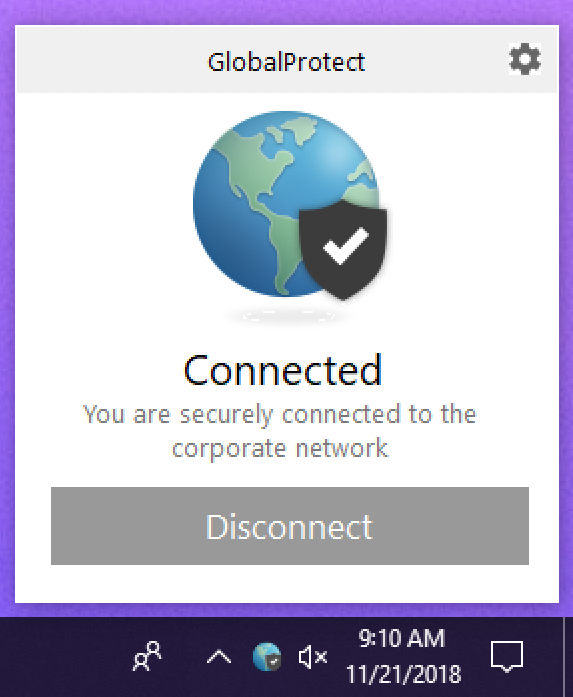
- Once you are connected to the VPN, the global protect icon in the menu bar will show
a gray shield.