


Planning & Effectiveness OU Training (check)
Your designated page is your sandbox to play with editing in OU Campus. Your page is named according to your Clark log-in name. Click on your page in the right navigation to open it.
Log in
Log in to OU Campus with the DirectEdit Link
- First navigate to the page to be edited.
- Click the DirectEdit link: for Clark’s Website, the DirectEdit link is the “Copyright
symbol” in the footer of every page. When your Intranet site is ready for editing,
we will let you know where the Intranet DirectEdit link is.
Log in with your Clark username and password. Your password will automatically change
for OU whenever you change your Clark network password.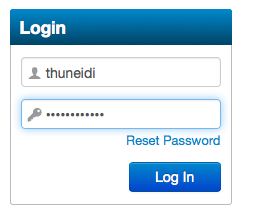
You will see a reset password link on the log in. You cannot reset your OU password
with the authentication method we use. If you are locked out, please contact Tahnya
at 2088, or someone in C&M.
Accessing any of your pages
You can see any areas and pages you have access to edit by clicking on any of the
following (at the top of your page):
Checking pages in and out
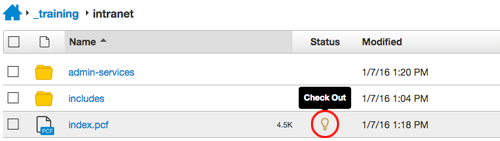
A yellow light bulb icon indicates a page is checked out. There are two ways to check a page out (or in): both involve clicking the light bulb.
- In the folder view of your files, click the clear light bulb to check a page out,
or the yellow light bulb to check a page in.
- When you have the page already open, click the light bulb at the top of the page,
to the left of the green publish button, to check it in or out.

A red lock indicates someone else has the page checked out. Hovering your mouse over
the lock icon will show who has the page checked out.
Editing
Edit Content (text)
To edit content, first click on the green 'Main Content' button. If you do not see
this button then you do not have the page checked out.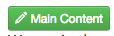
You will then be in a WYSIWYG (what you see is what you get) window for editing, with
a tool bar at the top that is fairly similar to an MS Word toolbar.
Using headings
You can use heading
to divide and organize your content. The headings are not intended as a means for
purely visual formatting; please use 'bold' if you just want to make something stand
out. Keep in mind that if too many items are bolded, nothing stands out for the user.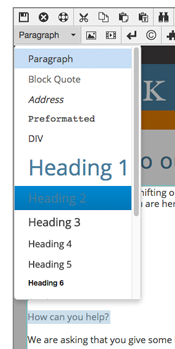
Headings are designed to help users using screen readers to navigate the site. Headings should be used in an outline format. H1 is only used once, for the page title. H2 and below should be nested with H2 for main sections on the page, H3 for sub-sections of H2, and so on.
The 'Links' heading below should be an H3 since it falls under the H2 'editing' heading. Please change it.
Links
To insert a link, first highlight the text you want the user to click on, then click
on the Insert/Edit link icon on your toolbar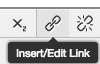
Follow the instructions below according to the type of link you are making.
Links to other pages on the Intranet site
In the insert link dialogue box, click on the search icon.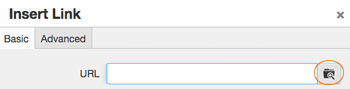
When you see the page you want to link to, click on the page name. A preview of the
page will appear on the right of the dialogue box.
In the resulting dialogue pop-up box, use the breadcrumb links at the top OR the file
system navigation to get to the page you want to link to.
Link to another page in the training area.
If the page you are linking to is not in your area of permission, change the server
(upper right of the dialogue box) from staging to production. You will now be able
to navigate and link to to any page on the site . Do NOT leave this setting on production.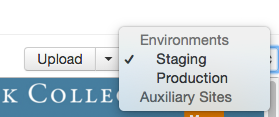
Click the "insert" button. You should see a number in brackets in the URL field. This
is a dependency tag and allows us to easily move pages around and correct broken links.
That's a big deal! 
Click "ok".
The two methods above should also be used to link to documents already existing on
the site (as opposed to those needing to be uploaded).
Links to pages off of the Intranet site
When linking to pages off of our site, go to the page you want to link to, copy the
URL and paste it into the URL text field. We cannot get dependency tags on pages not
on our site.
Links to documents you want to upload
Highlight the text that should link to the document. Click on the Insert/edit link
icon. Click the search icon in the resulting dialogue box.
Click the upload button![]()
If you are updating an existing document, click "Overwrite existing" and make sure
to name your document the exact same name as the document that is currently on the
site (case matters). Document and file names should have no spaces or date indication
and should be all lower case. You may use hyphens instead of spaces.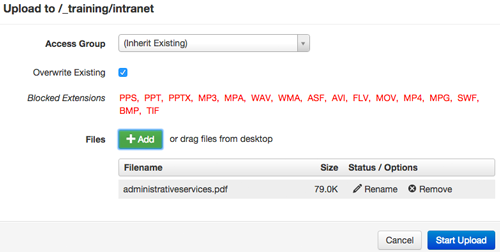
*Any file types not allowed for upload will be listed in red*
** The server is not the place to archive your files. Please archive files on your
local machine or according to your department's policy. Overwrite existing documents
on the server when you are updating. This not only keeps excess documents off of the
server, it also prevents broken links when others link to your document. **
You may click the "+Add" to add files or drag them into the upload dialogue box window.
If you need to change the file name, you may do so at this point by clicking the "rename"
option. This will not change the name of the file on your local machine.
Click "Start upload", then click "close" in the resulting "upload successful" message.
Click "insert" resulting dialogue box, then click "OK" in the last box. Your link
now exists. You will not be able to check the link by clicking on it in the preview
mode: the document will not be uploaded until the page is published.
Images
Until we have finalized a policy for images on the intranet. please send images you would like to put up to Tahnya (thuneidi@clark.edu). We ask that you remember that images should enhance content and not be placed on the page just to have an image there.
Inserting images is easy. Place your cursor where you would like the image to appear.
Click the "Insert/Edit Image" icon. 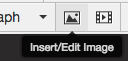
As with linking pages and documents, click the search icon in the resulting dialogue
box to navigate to the image you want to insert and choose it. Follow the prompts
in the dialogue box to insert the image. You will get a dependency tag on the image
just as you do on pages.
Changing a page title
There is only one place to change a page title. The page must be checked out. You
can access the area to change the title in two different ways.
From the file view, with the page checked out, slide your cursor to the right along
the line with the page name to reveal the options. In the "edit" drop down, choose
"Properties"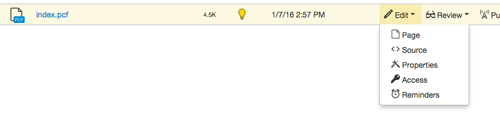
If you are on the page, click on the "properties" button at the top of the page.
Both methods will open the page properties dialogue box:
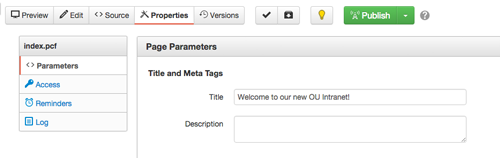
Change the page title and click the save button at the bottom of the page.
Your page will need to be published to reflect the change on the Intranet.
Page titles are the only "H1" headings on a page. The formatting is automatic; you do not have to apply it.
Create a new section
If you need an entire new area in your site, you will Create a new 'section'. The section is like a folder, but it automatically creates the files for the side navigation and the landing page of the section as well as the initial folder.
When in the file structure view of your area, in the area you want the new section
to appear in, click the green "+New" button on the top of the page.![]()
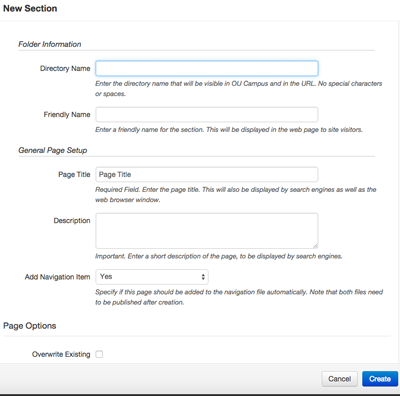
In the resulting drop down, choose "New Section"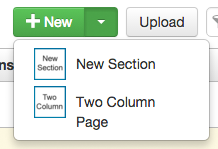
Fill out fields in the resulting dialogue box.
The directory name is the same as a filename - it should have no spaces, date indications
or capital letters. You may use hyphens instead of spaces.
The friendly name and page title can have caps and spaces. You will only see the page
title on the new landing page of the section - not the friendly name.
You may enter a page description if you like.
The "add navigation item" is set to yes by default. If you will not be ready to publish
the section for some time, you will want to uncheck this.
Click "Create" after you have filled out these fields.
Create a new page
The new page dialogue box is very similar to the "New Section" dialogue box. Please
remember the rules for filenames.
Right hand navigation
To change items in your right hand navigation, go to your file structure view and
click on the "includes" folder to open it.![]()
Click on the "sidenav.inc" to open the sidenav file for editing. Do not open other
files you may see in this area.![]()
When editing this file, you will not have a "main content" button to click on: this file opens directly to editing mode. You may add, remove, or re-arrange links. Keep in mind that you do not want a long list of links here - people will not be able to find what they need if it is too long.
Change your page name in the right navigation to your full name.
Submit for approval
When you are done editing your page and ready to publish, click on the green "Submit" button to submit your page for approval and publish.
Versioning
OU automatically saves a version of your page every time it is published. You can
choose to save a version manually when you have edited a page but are not ready to
publish. The page must be checked out to see this option.
Happy editing!
